How to Use the Forge
A step-by-step walkthrough for designing and exporting a faction board.
Looking for visual reference instead? See the Forge Element Guide.
1. Getting Started
The Forge is open to members of the Woodland Warriors community. Before you can build a faction you need a Discord login and a one-time acknowledgement of the Forge onboarding rules.
Log in with Discord
Use the Discord login button on Root Database to authenticate. The Forge uses your Discord identity to handle account creation without needing passwords.
Join Woodland Warriors
You need to be a member of the Woodland Warriors Discord server to access the Forge editor. Once you've joined, log in again to confirm your membership.
Acknowledge the Rules
The first time you visit the Forge you'll be prompted to read and acknowledge the onboarding rules. After that, the Forge is open to you.
2. Create a Faction
The Forge is the part of the Workshop where you can tinker and adjust your designs. Factions created here are only visible to you so have fun. Create as many factions as you like to iterate off of your ideas. If you want to submit your design later you can download a copy and post it to the site.
From the Forge home page, click Create a Faction. You'll be asked for a few core details that shape both sides of your board.
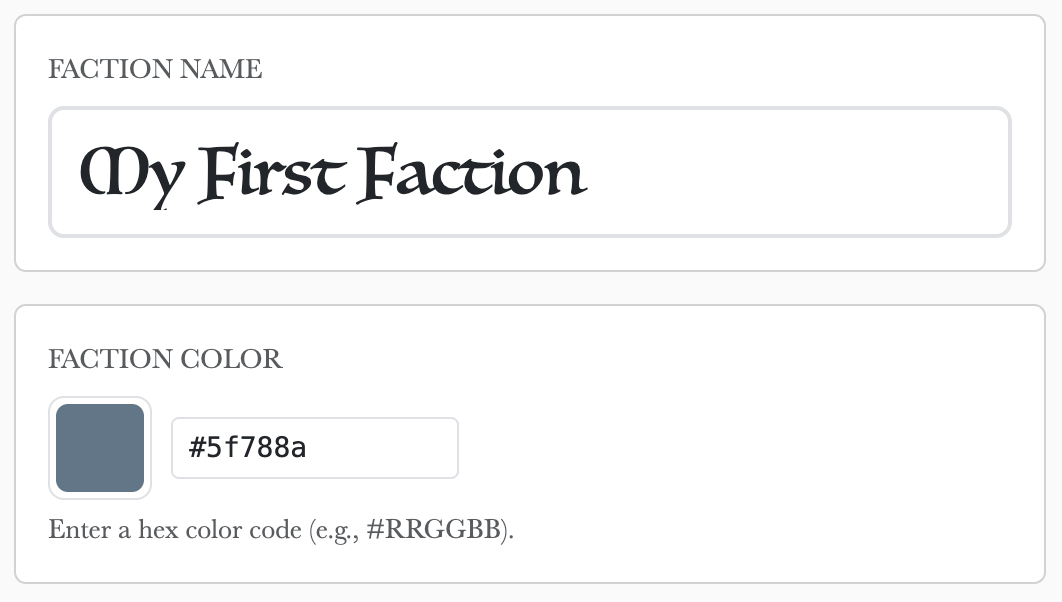
Name & Color
Give your faction a name and pick its color. The color is used as the default tint behind meeples, header text fallbacks, and several background fills. If your faction color is light you will be asked for a secondary color. This will be used in places where your faction color would not be visible.
Front & Back Backgrounds
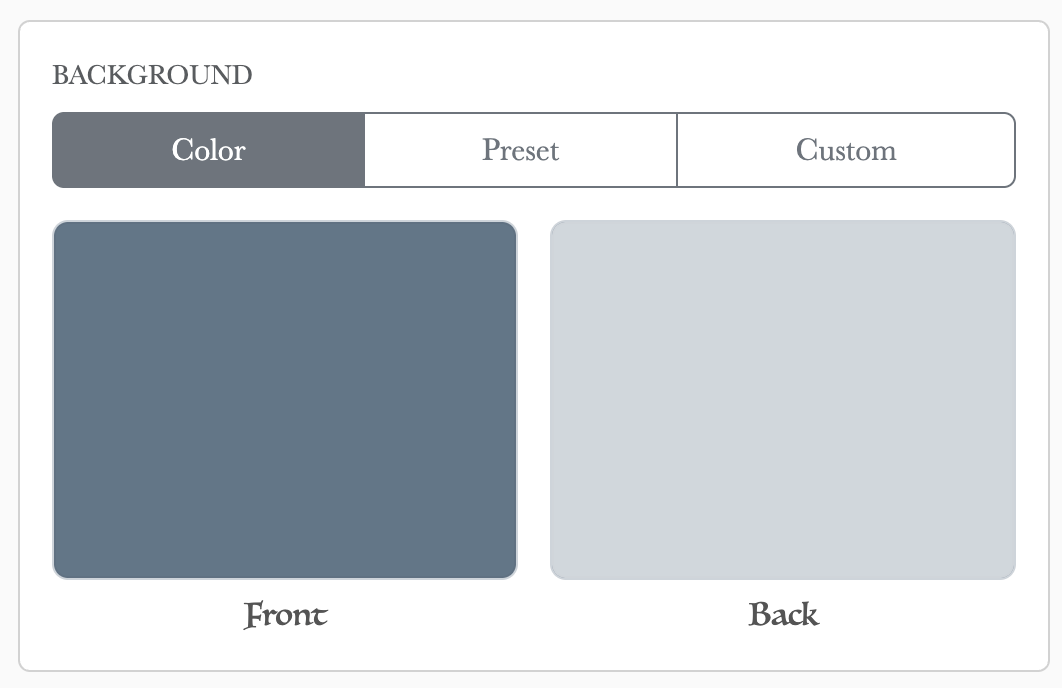
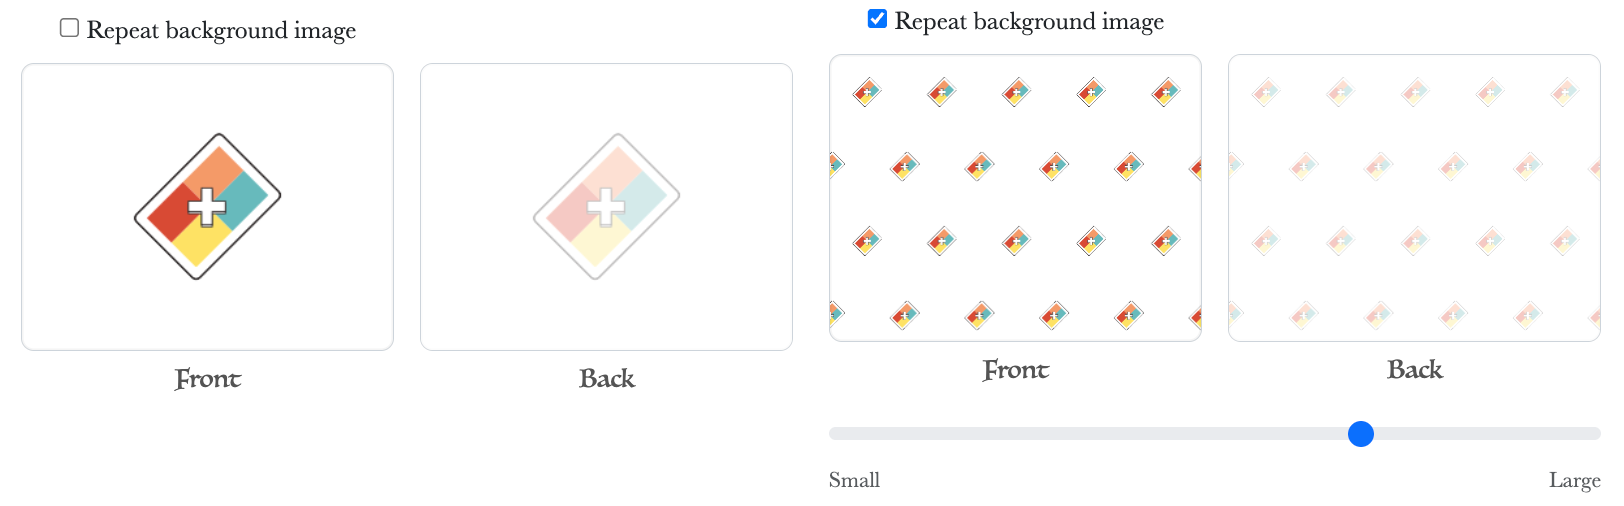
Choose a background for the front and back of your board. You can leave it as a solid color, pick one of the official faction backgrounds, or upload your own image. The back of the board will have a white overlay to make text more visible ontop of your background.
Cover vs. Tile Layout
When you upload a custom background, choose between cover (the image scales to fill the whole board) or tiled (the image repeats across the board). Tiled works well for repeating patterns. Use the built in slider to adjust how much your background repeats. The minimum number of rows is 3 and the maximum is 10.
Language
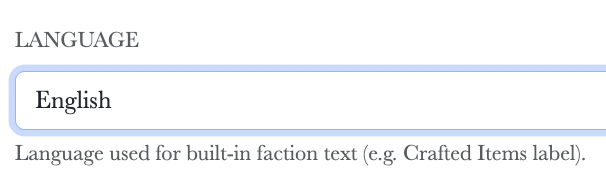
Choose a language to use for the static text of your faction. Supported languages are English, French and Spanish.
3. Build the Front of the Board
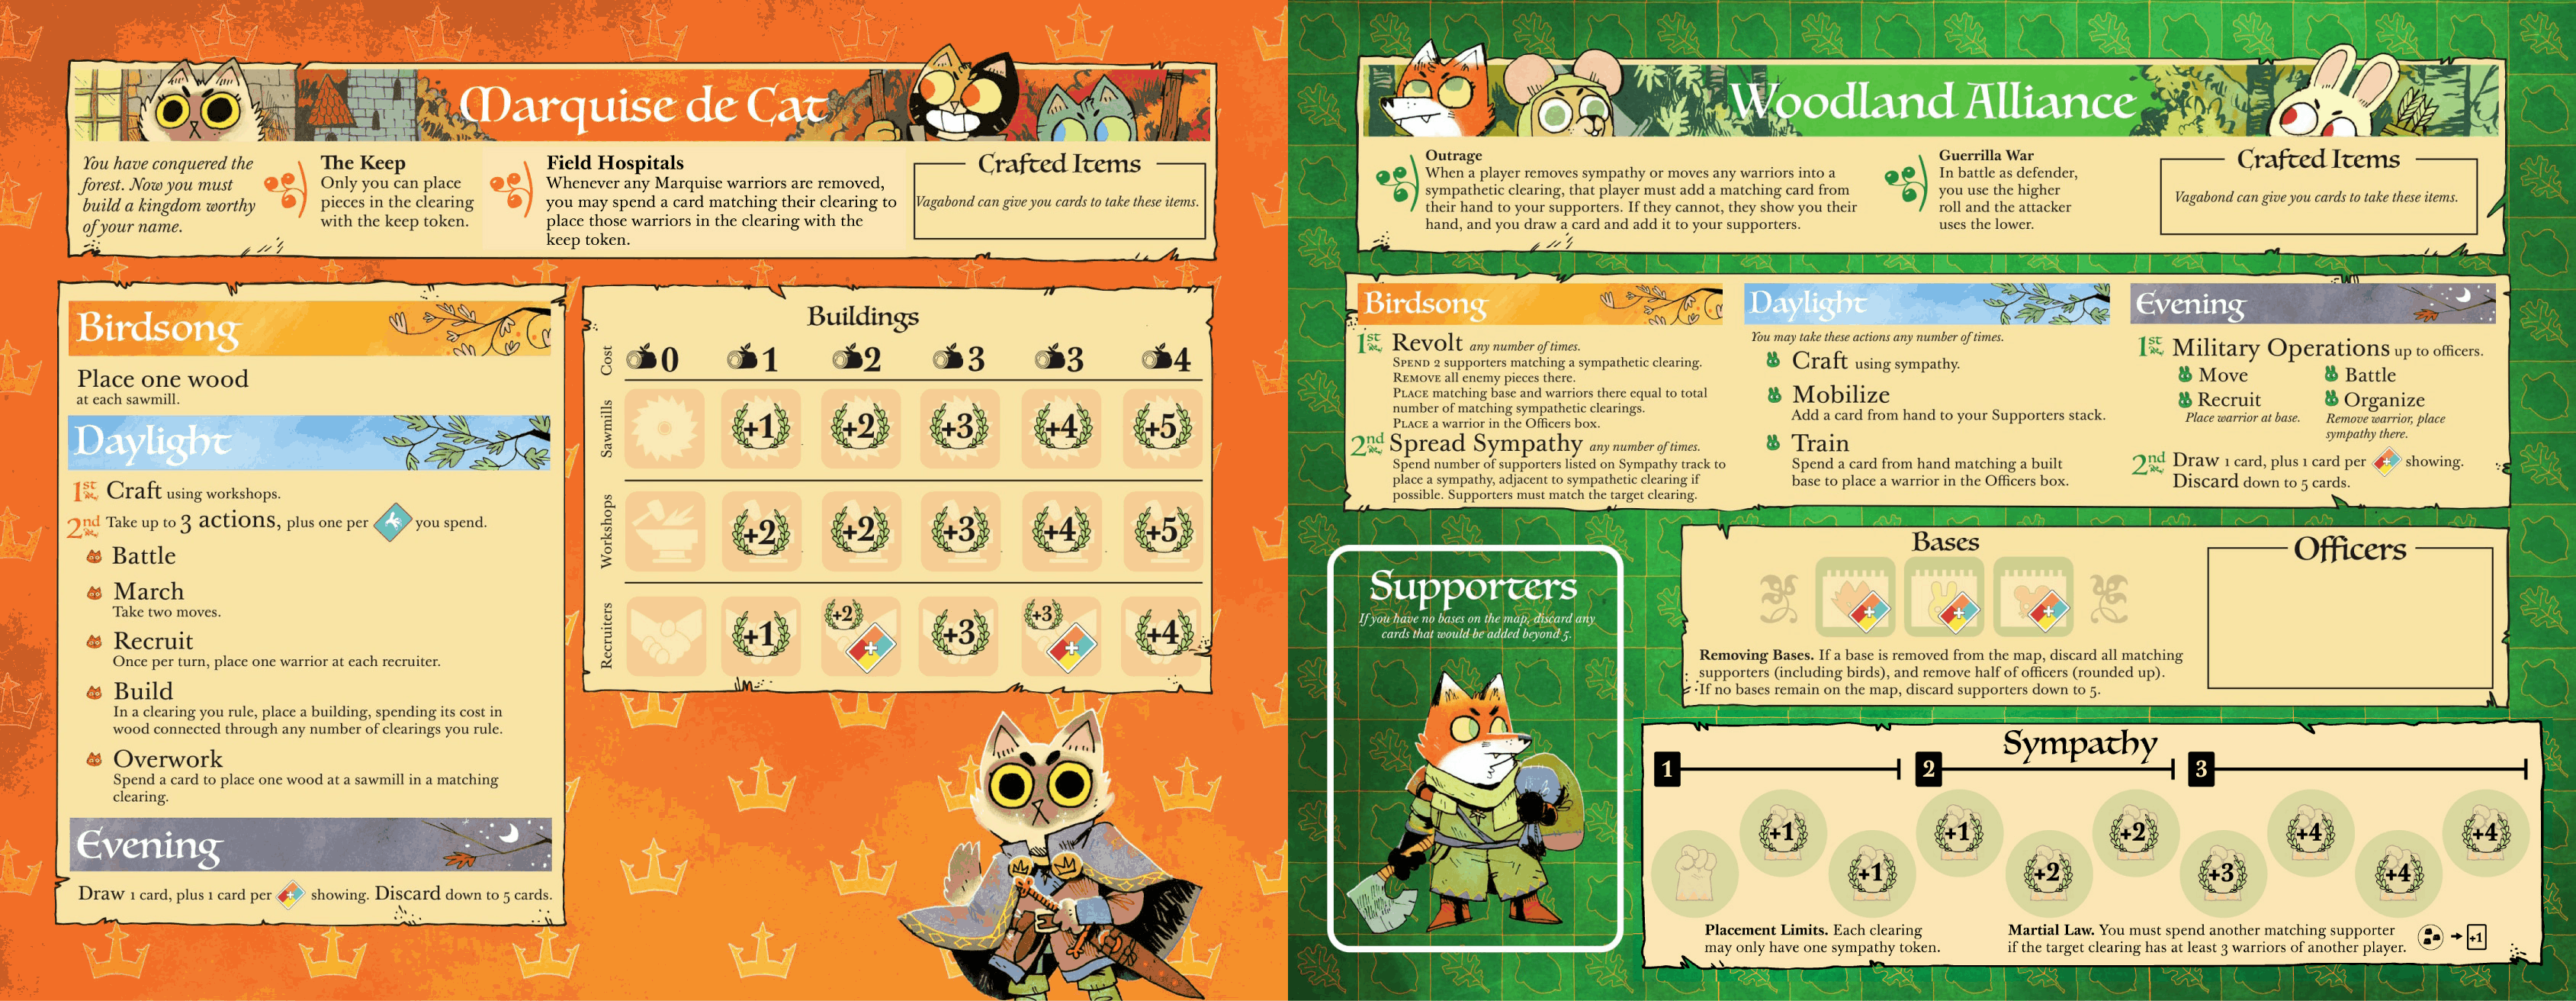
With a faction created, head into the board editor. The front of the board is where the majority of your faction's attributes are: title, header art, thematic text, abilities, phases, and other sections.
Faction Editor
The Faction editor has a lot of fields to help you build your Faction. Don't get overwhelmed, we'll walk through each field.
Unsaved Changes
If you forget to save something as you go, you will see this message in the bottom right of your screen. Click the button to be brought to each field that needs to be saved.
Reorder Elements
When you see this drag handler icon (6 dots) it means that the element can be reordered. Click and hold on the dots and drag the element to reorganize the section.

Title
You can edit the faction name here as well.
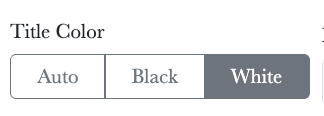
Title Color
Pick a title font color: Auto, Black, or White. Auto uses White unless white isn't visible against your faction color, in which case it picks black. Auto is recommended unless you have a header image that makes the text unreadable.
Version & Artists
You can add credits for the art you used as well as a version number for tracking. This text will appear in the bottom right of your faction board.

Header Image (Optional)
Choose an image to sit behind the title in the header. Use a PNG with transparency so the image overlaps cleanly with your background. If you do not choose an image the header will display your Faction's color.

Crafted Items Box
Most factions include a crafted items box. You can turn it off if your faction has another use for crafted items (e.g. exhausting them for an action).

Phase Box Layout
Choose a vertical or horizontal layout for the Phase Box. Vertical is the standard and shows each phase in a vertical line. Horizontal has each phase side by side and works well when each of your phases is roughly equal in length. Choose the layout that allows you to fit all your desired elements.
4. Flavor Text & Faction Abilities
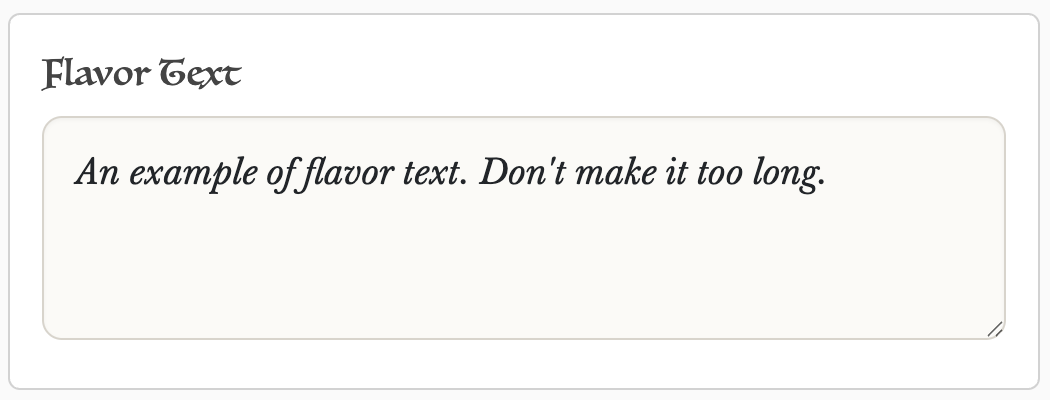
Flavor
Optional flavor text appears below the header. You can give your faction some personality or a bit of a backstory by writing a sentence or two here. If your faction has a lot of abilities you can skip this to save space.
Abilities
Faction abilities are the special abilities that only your faction has. Like the Cat's Field Hospitals or the Bird's Lords of the Forest. Ability space is limited. Word your abilities clearly and carefully so the text fits without overflowing.

5. Card Slot Section (Decree / Retinue)
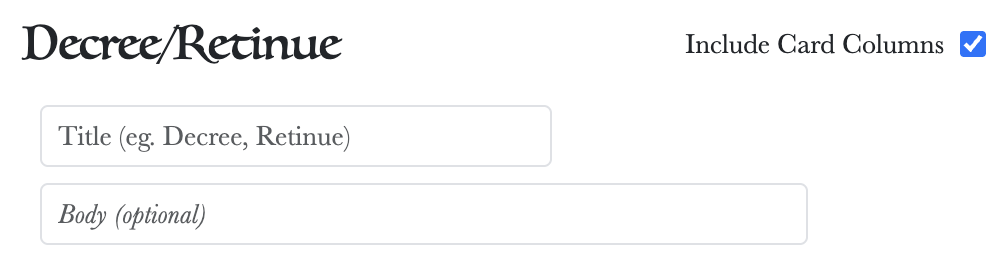
Some factions have a row of card slots at the top of the board like the Eyrie's Decree or the Keepers Retinue. The Forge has space for up to 5 slots.
Title & Description
The Decree has an optional title and description. Give it a name and short rule or description.
Adding Slots
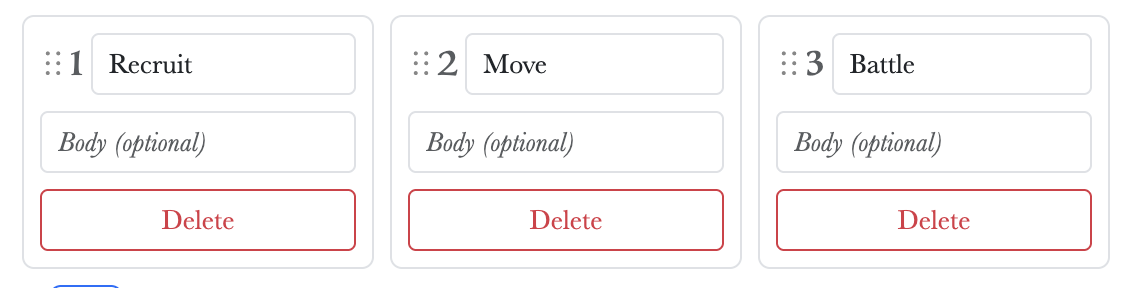
Each slot can be left blank or given its own title and body text. Both fields are character-limited to keep slots from overlapping. You can reorder the slots by clicking and dragging on the drag handler. Add up to 5 slots are available.
6. Birdsong, Daylight & Evening
The phases box holds the heart of your turn structure. Add a step under any phase to start writing. You can reorder your steps by clicking and dragging on the drag handler.
Step Text Formatting
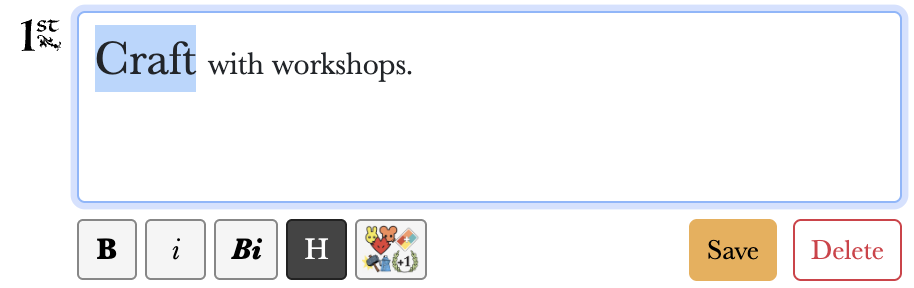
Use the rich text editor to make headers larger (typically the first word or two of a step), key words bold, and helper text italicized to stand out.
Inline Icons
Click the icon button in the editor to add inline icons like
 or
or
 . You
can leave a step's text blank, but it is recommended that you write something.
. You
can leave a step's text blank, but it is recommended that you write something.
Action Types
Each action has a type and each step can only contain actions of one type. Pick the one that fits the action's cost. You can rearrange the order of the actions by clicking and dragging on the drag handler. This affects the layout.
Standard Action
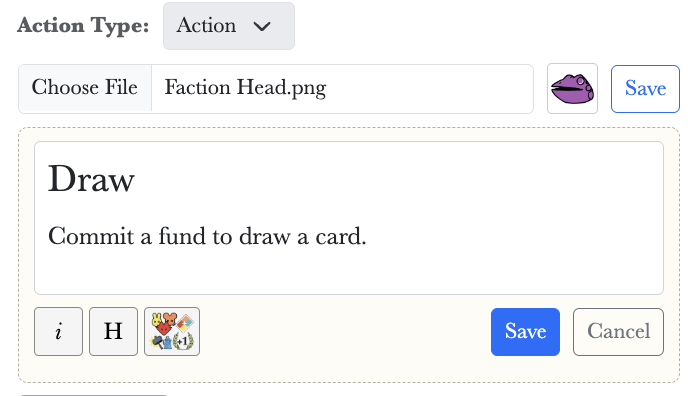
The default Faction action type. Upload your faction's icon if you want to use it, or fall back to the default meeple icon in your faction's color. Put the action's name in the header font style.
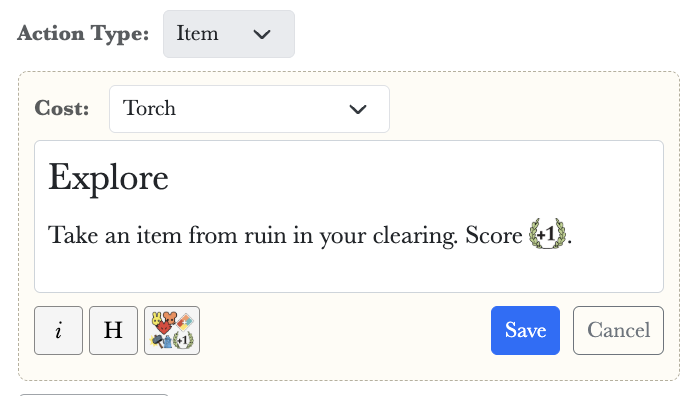
Item Action
Item actions are paid for by exhausting an item (used by the Vagabond and the Knaves). Choose which item is the cost.
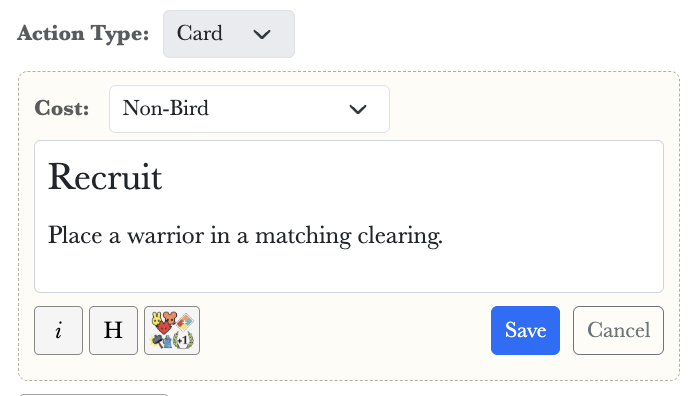
Card Action
Card actions are paid for with a specific card type (used by the Lizard Cult and the Twilight Council). Actions with matching card costs will be grouped together on the board.
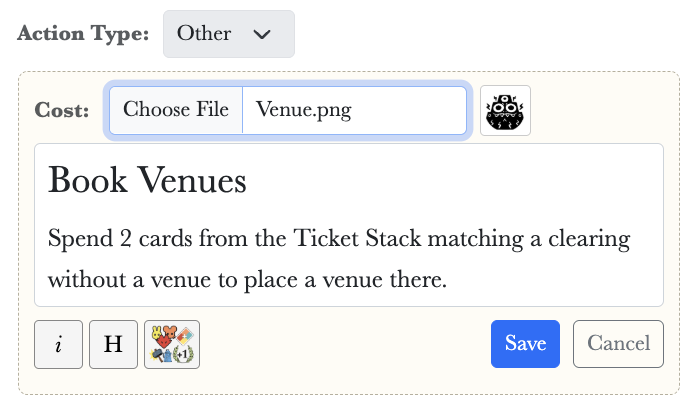
Custom Action
A free-form action where each action can have its own unique icon. Useful when none of the other action types fit your mechanic.
Scales
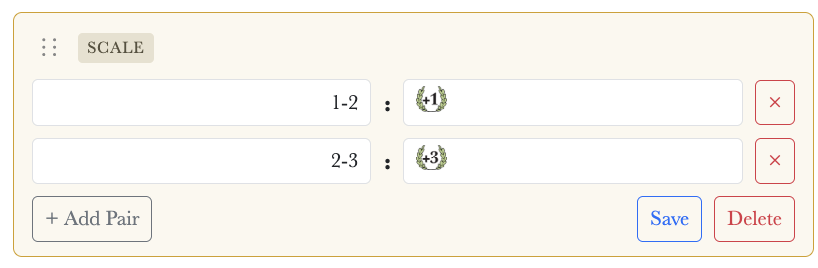
Range & Result
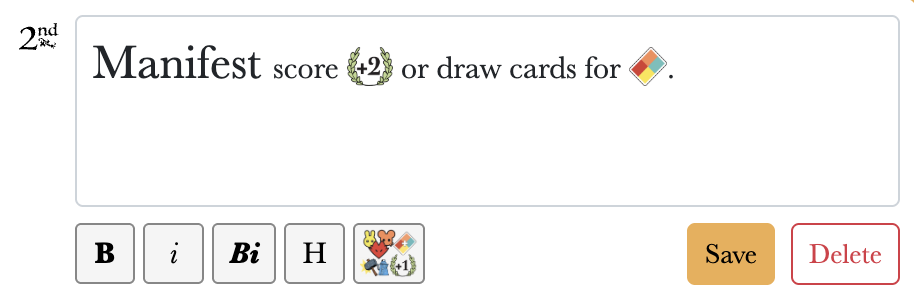
Scales are used for scoring or card draw (the Frogs' card draw and the Lord of the Hundreds' Oppress step are both scales). Add a scale inside a step when you need a range-to-result table.
You can also add boxes, tracks, or legends inside a phase step. Those are less common in the phases box itself (see the next section for full details).
7. Sections (Outside the Phase Box)
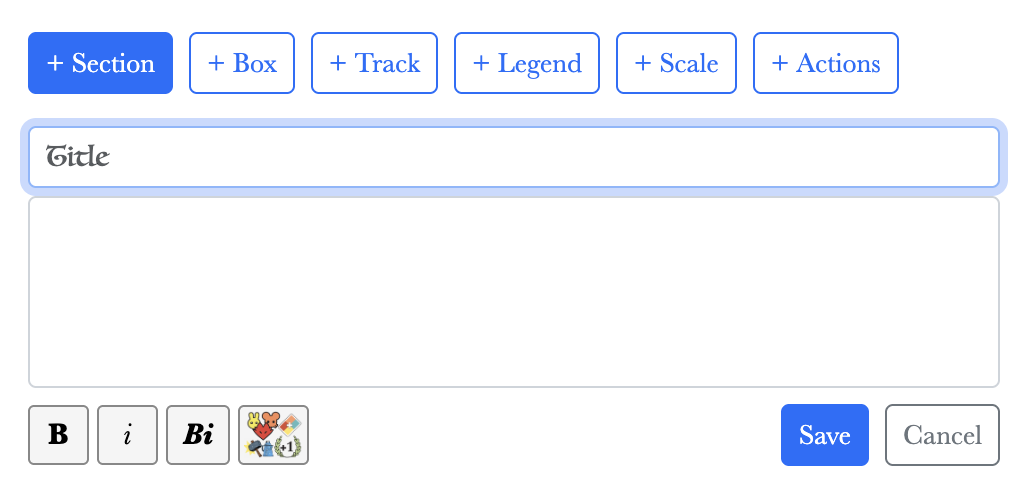
Sections make up the majority of the elements of your faction board that live outside the Phase Box: cardboard tracks, piece legends, other actions, boxes, and entirely custom phases. Add a section below the end of Evening. You can rearrange your sections by clicking and dragging the drag handlers. This only affects the auto layout if you use it.
Section Options
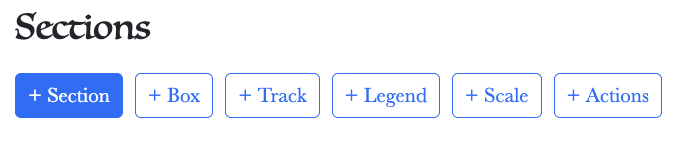
Below evening you'll see a card labeled Sections. If you need to add anything to your board outside of the main Phases it'll probably be here. If you need a single element click it's corresponding button: Box, Track, Scale, Legend or Actions. But if you want multiple elements in the same Section you'll choose Section.
Paper Background
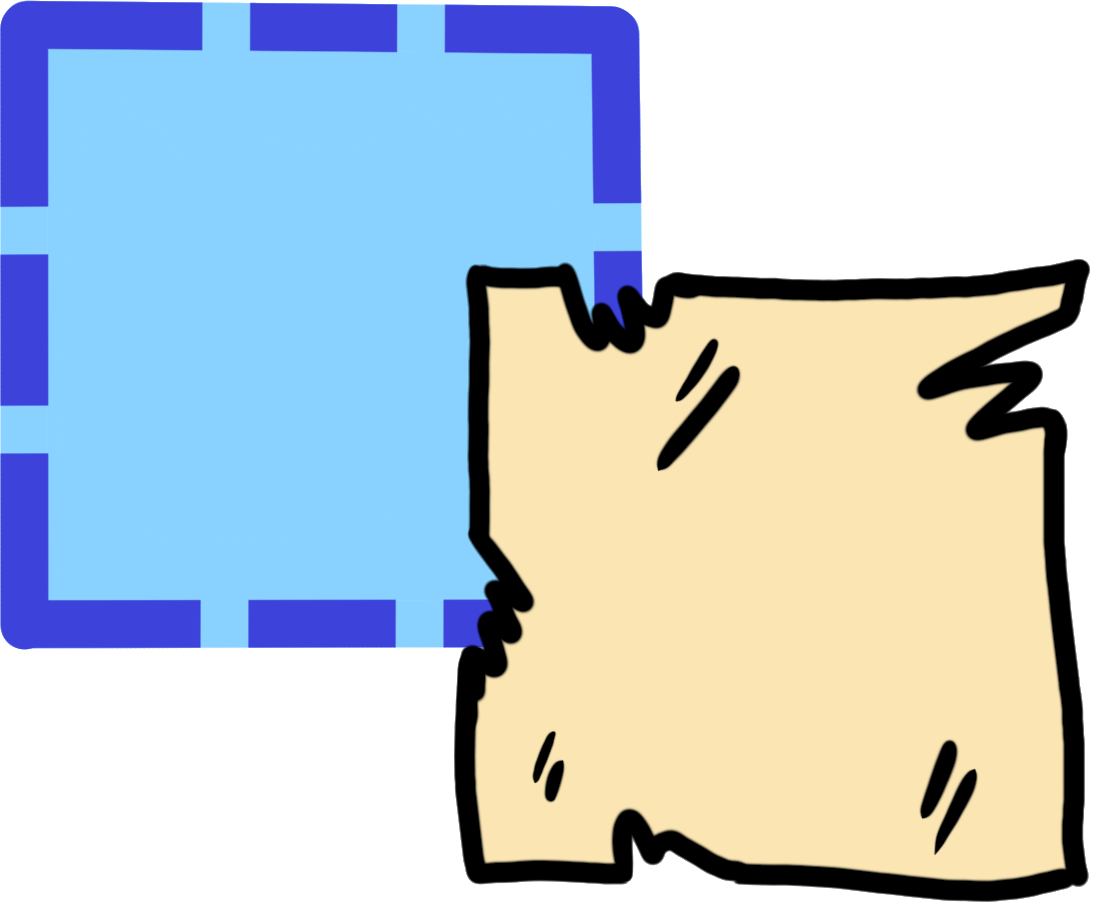
By default each section will have a paper background. Clicking this button will toggle that background on or off. Creating a section without a background can allow you to overlap it with an existing section for more flexibility.
Boxes
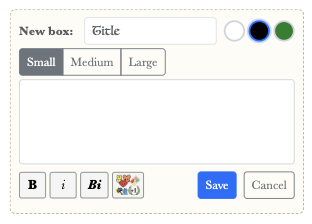
Boxes hold meeples or items (the Vagabond's Satchel, the Woodland Alliance's Officers, and the Riverfolk's Funds). Choose a color, height and add a title and optional body text. Body text is typically italicized.
Legends
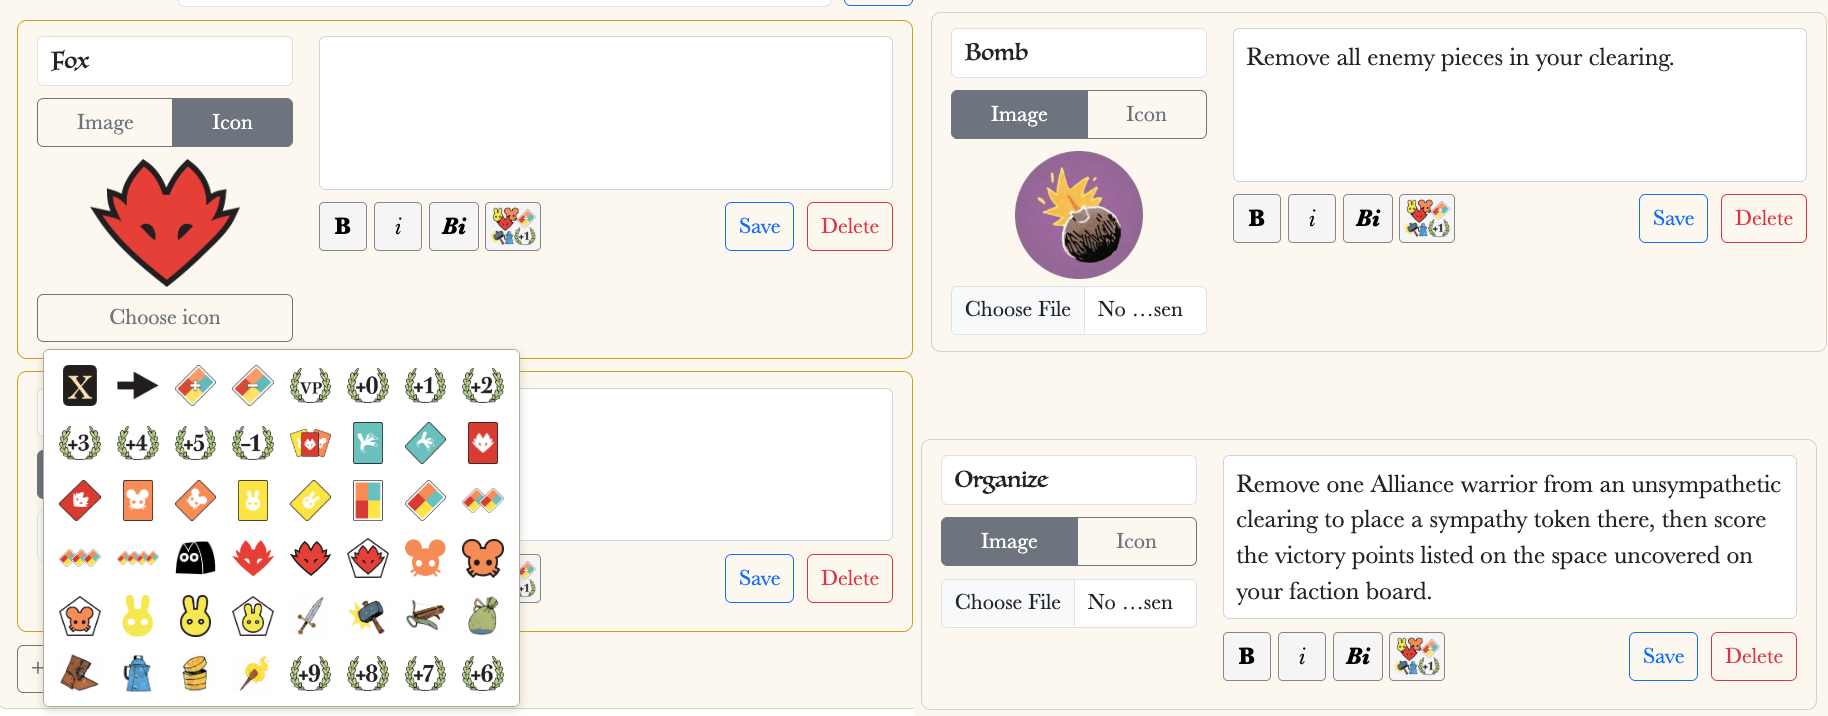
Legends define pieces or terms (similar to the Corvids' Plots section). Each row requires a title and description text with the option of adding an icon or image. Choose an icon from the icon picker or upload your own image. Useful when your faction has many distinct pieces to reference.
Tracks
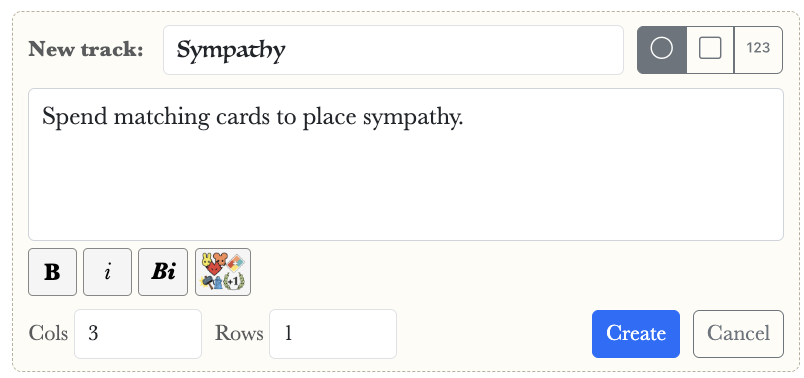
Tracks store tokens, buildings, counters, or items. Pick the type and give it a title plus optional body text explaining how the track works. Save the track before customizing it.
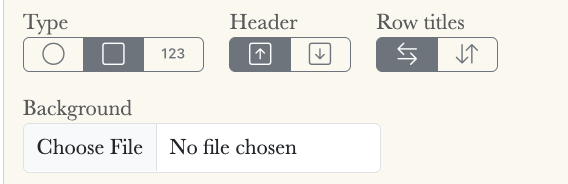
Tracks: Headers & Background
Place column headers above or below the track. Choose a short title or icon. Row labels can be horizontal or vertical. Pick a background icon for the track. If you do not choose an image, the track uses your faction color as the background.
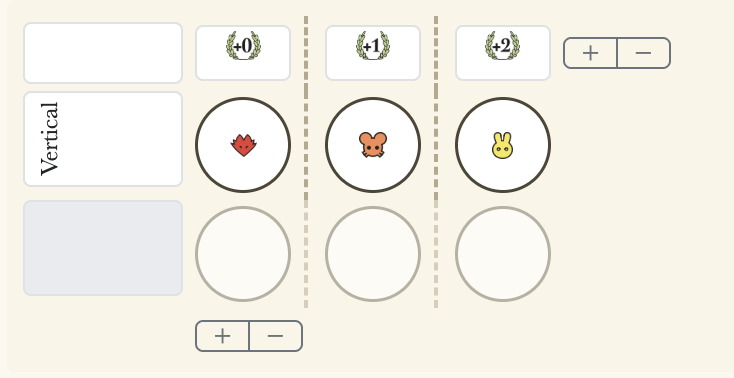
Tracks: Slots, Dividers & Resizing
Click a slot to customize it, add a one-off background image, text, and up to 4 icons. Click the dashed lines to add dividers. If every column inside a divider shares the same header, the header is centered instead of repeated. Use the +/- buttons to add or remove rows and columns. Save the track before customizing newly-added slots.
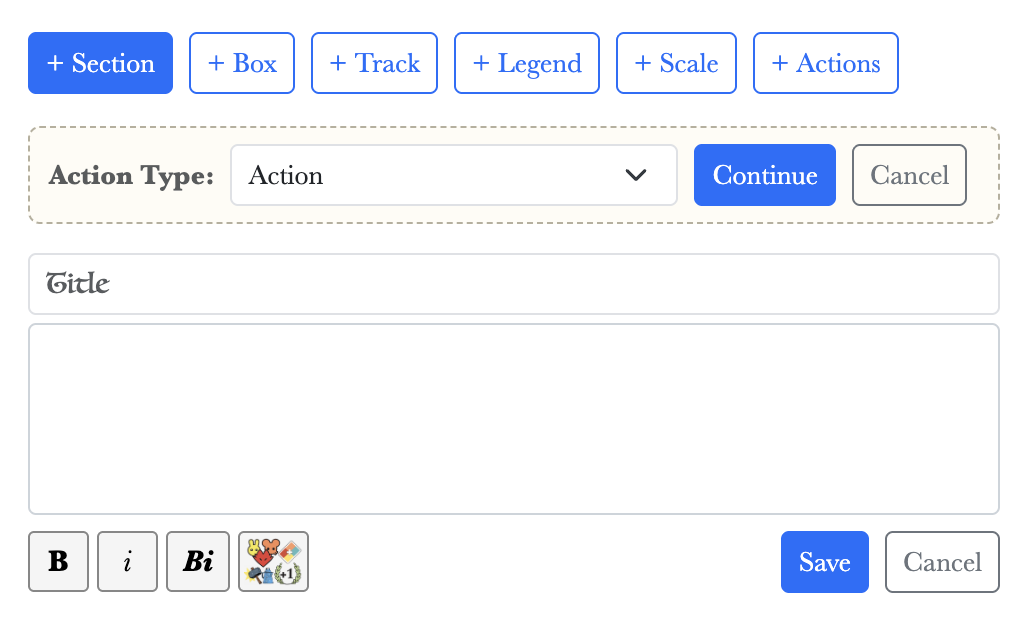
Scale or Actions as a Section
Add a Scale or Actions directly as a section to create a floating element similar to the Lizard Cult's Conspiracies or the Knaves' item actions.
Custom Section
The most flexible option – essentially a custom phase that can contain anything we've covered. Add steps like the Eyrie's turmoil or combine actions with a box like the Lizard Cult's Acolytes. Title and body text are optional, and steps can have blank text. If you get lost, the layout page is the easiest way to visualize what you've built.
8. Standalone Elements
There are two standalone elements that are separate from sections or phases: Card Piles and Character Images. Both are limited to 5 each.
Card Piles
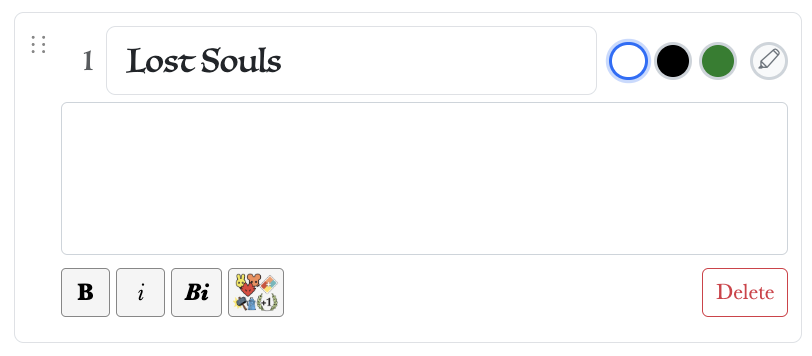
A simple card-shaped outline with a title and optional body text (used for the Eyrie's Leaders or the Lizard Cult's Lost Souls). Card piles can be dragged off of the faction board to leave only the top visible and save space. Choose between white, black or your faction's color. Clicking the button will add a contrast screen behind the pile to make text more visible.
Character Images
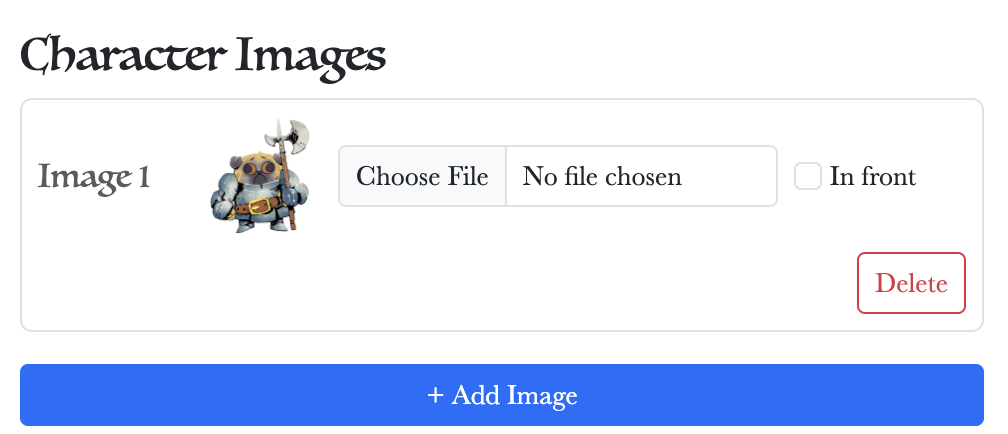
Add character images for flavor or to drop in a custom illustration the Forge doesn't otherwise cover. Choose whether the image sits behind or on top of the other elements. If you would like to add your own custom section to your board, upload it as Character Art to scale and place anywhere.
9. Add Your Own Icons
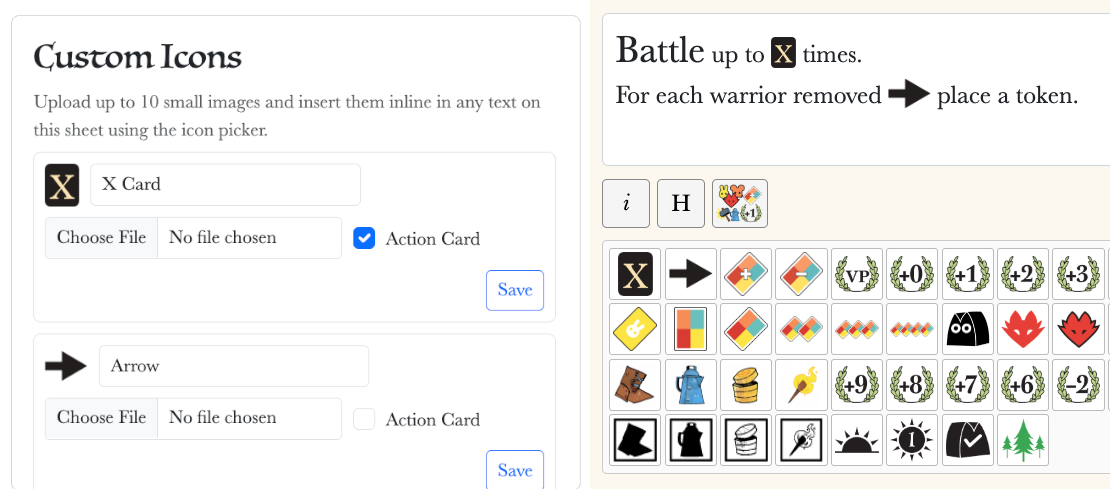
You can add up to 10 custom inline icons that can be used throughout the faciton board. If you have a faction specific icon that you want to include next to text you should register it here. Choosing "Card Action" adds the icon to the Card Action list, allowing you to Spend or Reveal that card as an action cost.
10. Layout Editor
Once your faction board is saved you can fine-tune its layout. Head to the layout page to reorganize and resize elements.
Vertical & Horizontal
Switch between vertical and horizontal layout to see which one fits your faction better. Some factions only really fit in one orientation. If your Phase Box still doesn't fit you can resize it using the red squares, but if you make it too small the phases won't properly render. Both layouts are saved independently so you won't lose your vertical layout if you try out horizontal.

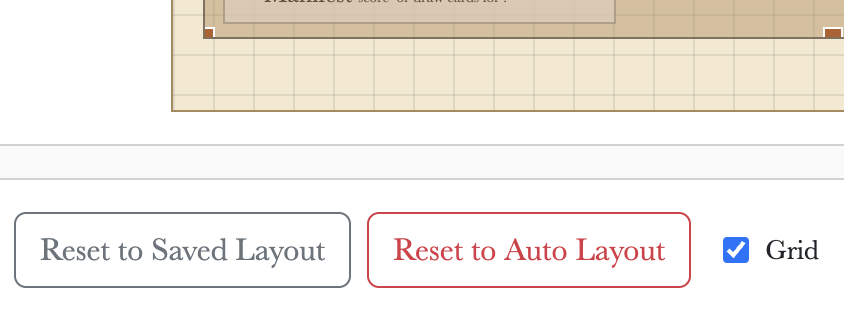
Grid, Clear & Auto Reset
A background grid helps you line up elements. You can clear your changes or reset to the auto layout at any time.
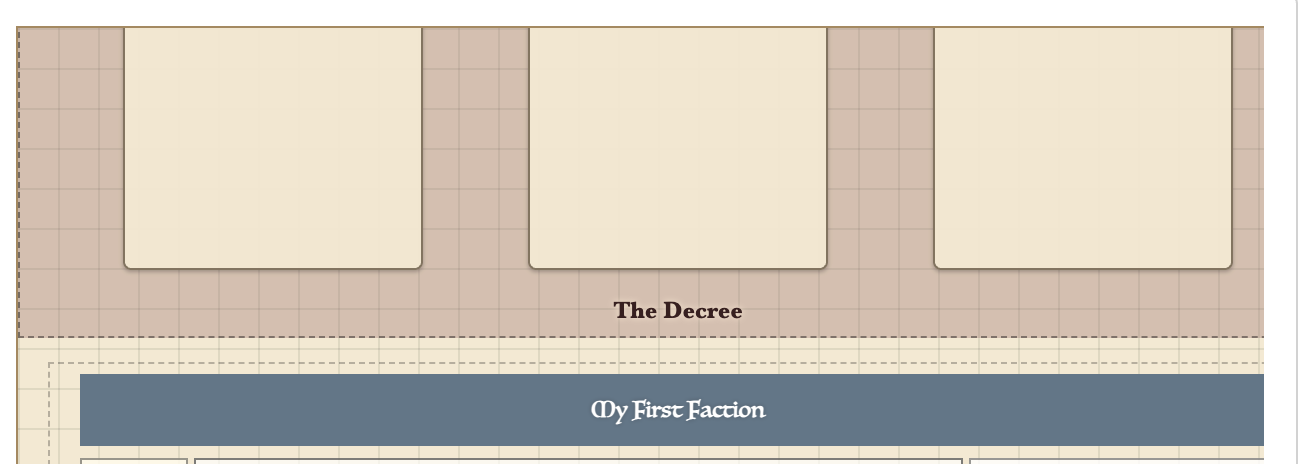
Decree Drag
If your faction has a Decree or Retinue, drag it up or down to show more or less of the card slots underneath the header.
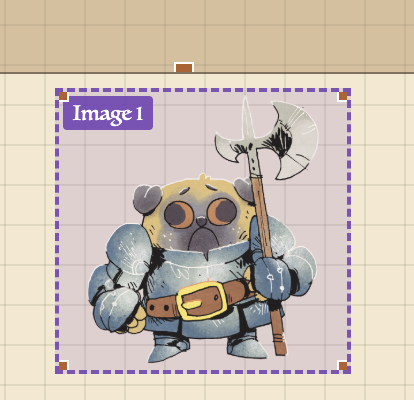
Resize with Red Handles
Drag the red handles on any element to resize it. Be careful: if an element is too small its contents won't render. Leave enough room for the text and icons inside.
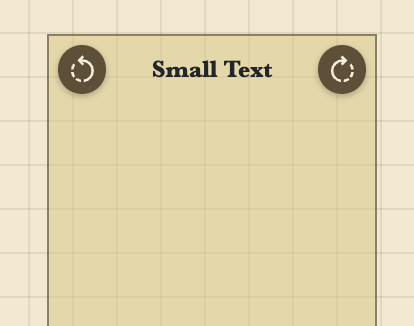
Rotate Card Piles
Card piles have brown rotate buttons in the top left and right corners. Click these buttons to rotate the Card Pile 90 degrees. Once rotated you can partially slide the pile off the board to save space.
11. Download Your Faction Board
When you're happy with the layout, download your board. The download generates the file on the server and can take several seconds. Be patient. If it takes longer than 15 seconds, submit feedback so we can look into it.
Full-resolution file with most layers intact. Edit it in a PDF editor if you need to tweak something the Forge doesn't directly support.
WebP
An easily shareable image format. Lower resolution than the PDF but still clear and good for posting your faction in Discord.
Tabletop Simulator .json
Tabletop Simulator stores objects as .json files. Once you're ready to test your faction, drop this file in your Saved Objects folder to access it in TTS. Any visual changes you make in the Forge will show up when you reopen TTS. But if you change any cardboard tracks, Card Piles or shift the Decree you will need a new file to reflect the updated snap-points.
12. Keep Building
Beyond the faction board there are a few other pieces you can build for your faction. Any of these can be made on their own if you don't need to build a Faction Board.
Faction Markers
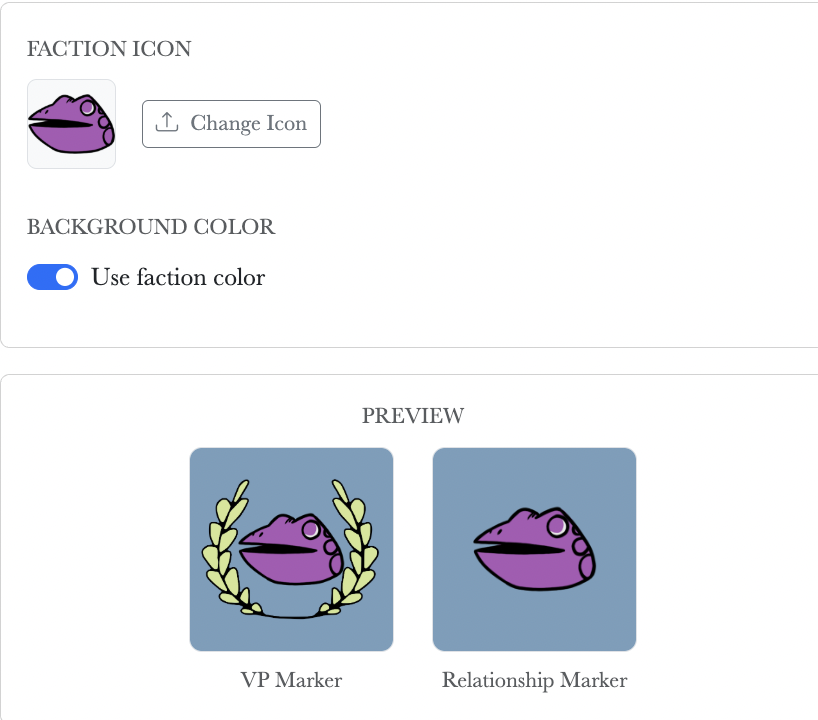
Generate VP and Relationship Markers for your Faction with an icon and a chosen color.
Adset Card
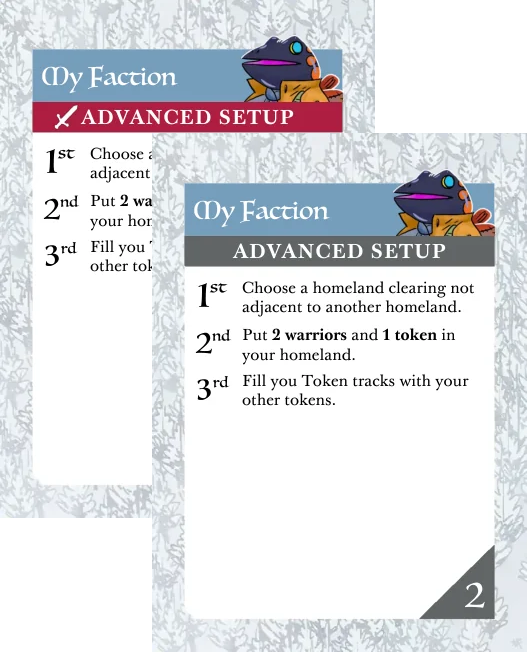
Build the Adset card with optional header art that lists your faction's setup and reach.
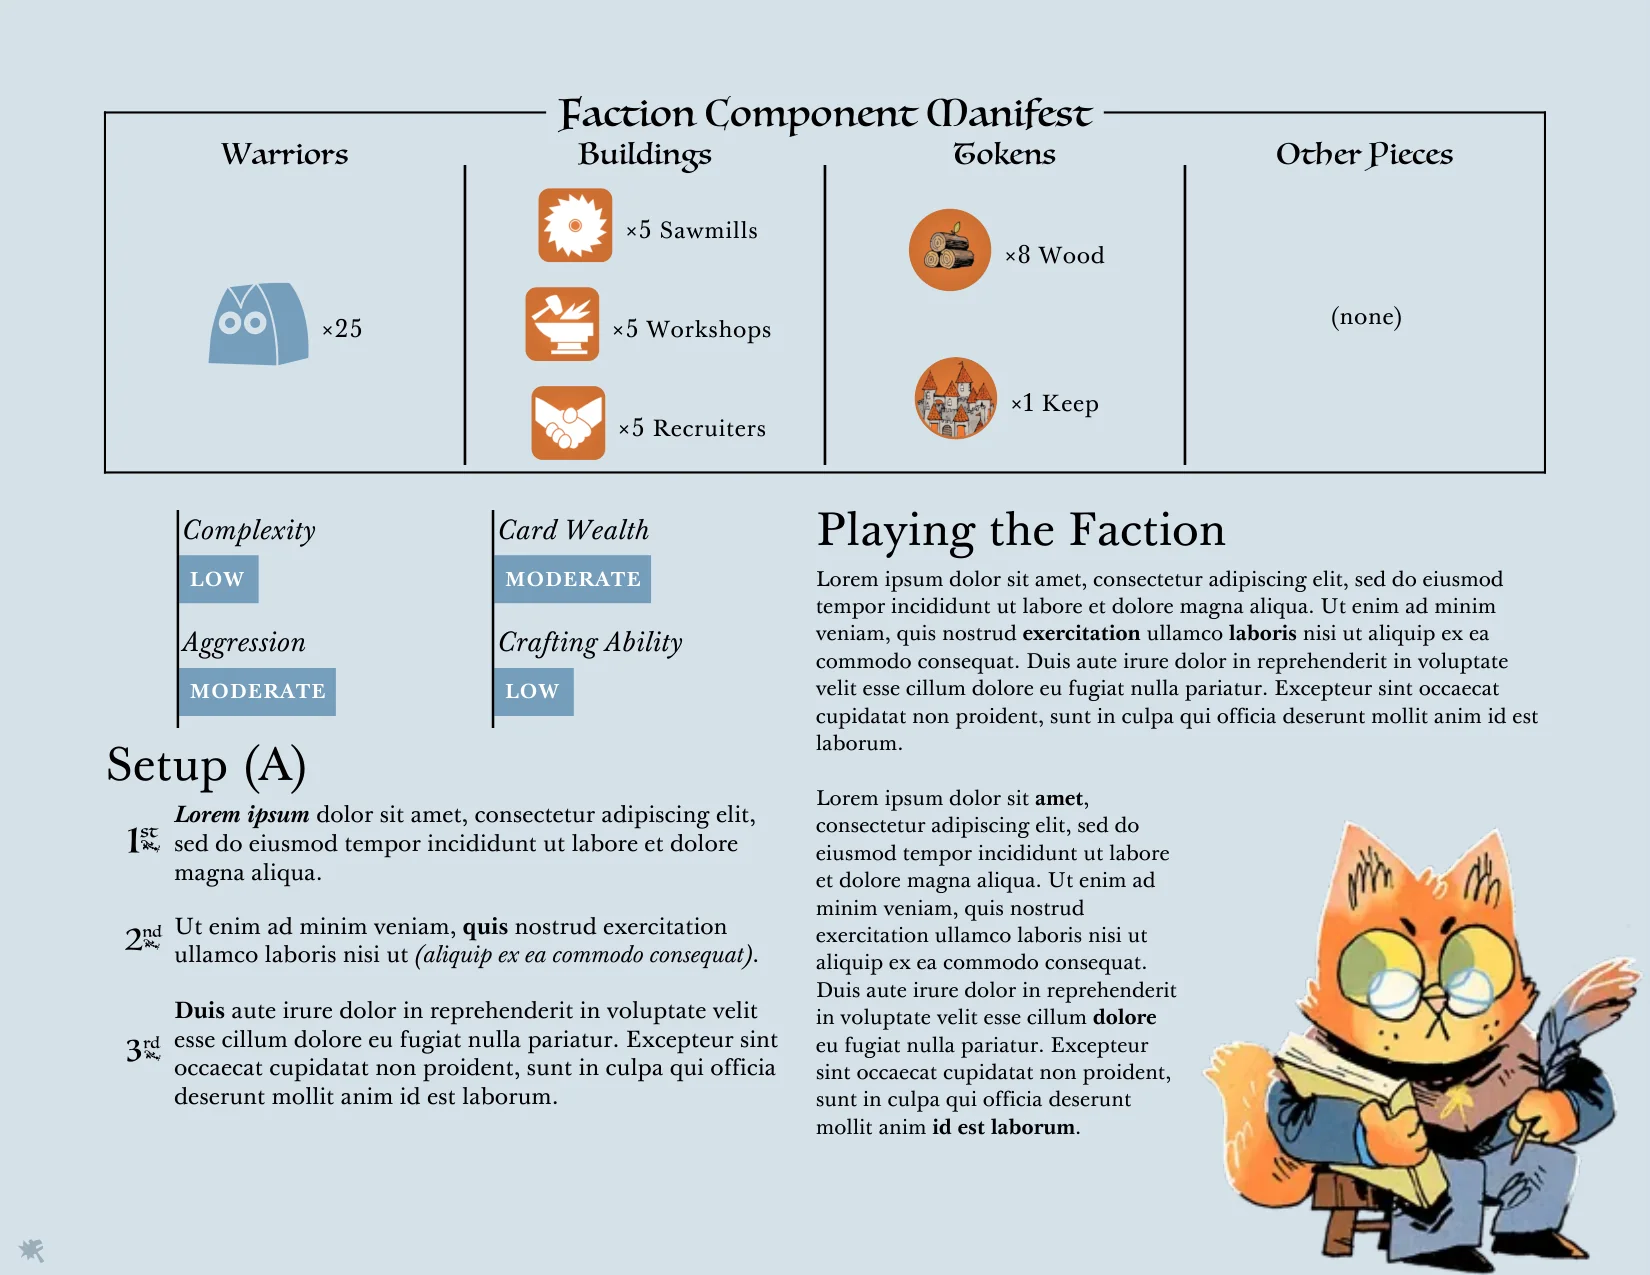
Faction Board Back
Design the back of your faction board with setup steps, how to play, attributes, components manifest, and optional character art. The back uses a lighter version of the background you picked when creating the faction.